At Home COVID and Flu Test Kits: Accuracy and Usage Guide
At Home COVID and Flu Test Kits: Accuracy and Usage Guide
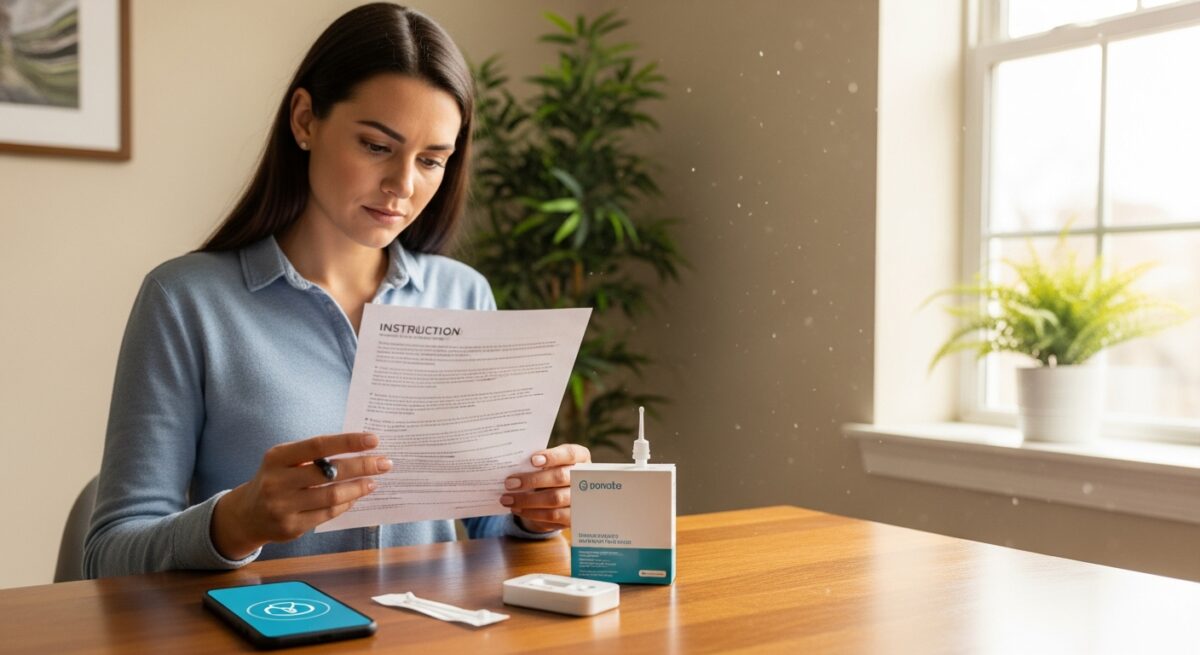
Navigating the world of at-home diagnostic tests can be confusing, especially when you’re feeling unwell and need quick, reliable answers. The rise of telemedicine and digital health platforms has made access to these convenient tools easier than ever, empowering individuals to take a proactive role in their health from the comfort of their homes. This comprehensive guide cuts through the noise to provide you with clear, evidence-based information on the accuracy, proper usage, and limitations of at-home COVID and flu test kits. Understanding how these tests work, when to use them, and how to interpret their results is crucial for making informed healthcare decisions, whether you’re managing symptoms on your own or preparing for a virtual consultation with a licensed provider.
Understanding Test Accuracy: Sensitivity, Specificity, and Real-World Performance
The terms “sensitivity” and “specificity” are the cornerstones of understanding any diagnostic test, including at home covid test kits. Sensitivity refers to a test’s ability to correctly identify those who have the disease (true positive rate). A highly sensitive test will rarely miss someone who is infected. Specificity refers to a test’s ability to correctly identify those who do not have the disease (true negative rate). A highly specific test will rarely give a positive result for someone who is not infected. For at-home antigen tests, which are the most common type for both COVID-19 and influenza, sensitivity is generally high when viral loads are high, typically in the early symptomatic phase. However, sensitivity can drop significantly in asymptomatic individuals or later in the infection cycle.
Real-world performance often differs from the ideal conditions of a laboratory study. Factors like improper sample collection, testing too early or too late in the illness, and how the test kit is stored can all impact the result. The U.S. Food and Drug Administration (FDA) provides authorization for these tests based on submitted data, and it’s important to check the specific performance metrics listed in the test’s instructions for use. For COVID-19, many authorized at-home antigen tests show sensitivities above 80% compared to PCR tests when used by symptomatic individuals. At home flu test kits, while less common than COVID tests, operate on similar principles and their accuracy is also highly dependent on correct timing and technique. No test is 100% accurate, which is why clinical correlation, meaning considering your symptoms and potential exposure, is always necessary.
Step-by-Step Guide to Proper Test Administration
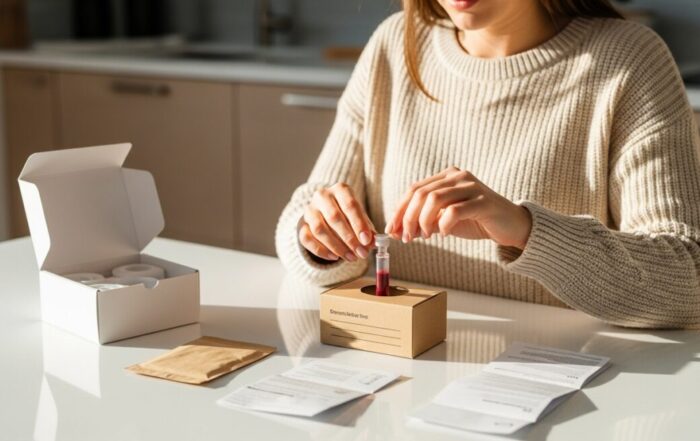
Accuracy is only as good as the technique used. A flawless test performed incorrectly yields unreliable results. Following the manufacturer’s instructions to the letter is non-negotiable. While each brand may have slight variations, the general process for most nasal swab antigen tests is consistent. First, create a clean, well-lit workspace and wash your hands thoroughly. Lay out all components from the kit, checking expiration dates. Most kits require the test card or cassette, a sterile swab, and a pre-measured extraction vial filled with buffer solution.
Here is a generalized, step-by-step sequence for a nasal swab antigen test. Always defer to your specific kit’s instructions.
- Blow your nose gently to clear nasal passages.
- Open the swab package, handling only the stick end to keep the soft tip sterile.
- Insert the swab tip into one nostril, parallel to the palate (roof of the mouth), not upwards. Gently rotate the swab against the inner wall of the nostril for the time specified (often 15 seconds).
- Repeat the process in the same nostril or the second nostril as directed by your specific kit.
- Immediately insert the swab into the extraction vial. Rotate and press the swab against the inner wall of the vial for the specified time (e.g., 15 seconds) to release the sample into the liquid.
- Remove the swab while squeezing the vial’s sides to extract as much liquid as possible from the swab tip. Dispose of the swab safely.
- Close the vial with its cap (often a dropper tip). Gently mix or invert the vial as instructed.
- Place the test card on a flat surface. Apply the exact number of drops specified to the sample well on the test card.
- Start the timer and wait precisely for the read time indicated in the instructions. Do not read results before or after this window.
Missteps like insufficient swabbing, incorrect timing, or adding too many/too few drops are common user errors that compromise accuracy. For those curious about other types of at-home diagnostics, our guide on at home stomach tests methods and accuracy explores similar principles for different health concerns.
Interpreting Your Results: Positive, Negative, and Invalid
Reading the result seems straightforward, but nuances exist. A positive result typically appears as two colored lines (a control line and a test line) within the read window. Any faint test line, regardless of intensity, should be considered positive, as it indicates the presence of viral antigens. A negative result shows only the control line. The control line is critical: it confirms the test functioned properly. If the control line does not appear, the result is invalid, and the test should be repeated with a new kit.
Understanding what the results mean in context is vital. A positive result from an at home influenza test or COVID test is highly reliable for ruling in the infection, especially if you have symptoms. However, a single negative test does not definitively rule out infection. If symptoms are highly suggestive and you test negative, the recommended course of action is to repeat the test in 24-48 hours, as viral loads may increase, or to seek confirmatory PCR testing through a healthcare provider. PCR tests, processed in a lab, are more sensitive and can detect lower viral loads. This is where telemedicine services like Doctors Home become invaluable, as a licensed professional can help interpret your at-home results in the context of your symptoms and medical history, and order confirmatory lab tests or prescribe appropriate treatment if necessary.
Strategic Testing: When and Why to Test at Home
Using these tests strategically maximizes their value and your understanding of your health status. The most common and effective use case is when you develop symptoms consistent with COVID-19 or influenza, such as fever, cough, sore throat, fatigue, or body aches. Testing immediately upon symptom onset can guide isolation decisions and inform discussions with healthcare providers. Another key scenario is after a known exposure to someone with a confirmed infection. In this case, testing should be done at least 5 days after exposure, or immediately if symptoms develop. Testing before and after travel or gatherings, while not foolproof, can add a layer of risk mitigation.
It’s also important to recognize when an at-home test may not be the best tool. If you have severe symptoms (e.g., difficulty breathing, chest pain, confusion), seek immediate medical attention rather than relying solely on an at-home test. Furthermore, certain settings, like workplaces or schools, may require a lab-confirmed PCR test for official documentation. For routine screening of asymptomatic individuals without exposure, the utility of antigen tests is more limited and debated, though some people use them for added peace of mind. Integrating the use of covid tests at home into a broader personal health strategy, supported by professional telemedicine guidance, creates a powerful and convenient model for modern healthcare management.
Limitations, Storage, and Frequently Asked Questions
While revolutionary in their convenience, at-home test kits have important limitations. They are designed for qualitative detection (yes/no) of specific viral proteins, not for quantifying viral load or determining infectivity. They cannot distinguish between variants of a virus. As mentioned, their sensitivity is lower than PCR, leading to a higher chance of false negatives. They also cannot diagnose other respiratory illnesses that may cause similar symptoms, such as RSV or bacterial infections. Proper storage is another often-overlooked factor. Kits must be stored at the temperature range specified on the box (usually between 35-86°F or 2-30°C). Exposure to extreme heat or cold, or using an expired kit, can degrade the chemical components and render results unreliable.
Frequently Asked Question Section
How soon after symptoms start should I use an at home flu test kit?
For influenza, the ideal time to test is within the first 3-4 days of illness when viral shedding is typically highest. Testing later may result in a false negative.
Can I use one swab for both a COVID and a flu test?
No. You must use separate tests and separate swabs as instructed. Combination tests that detect both COVID-19 and influenza A/B in a single device do exist and are authorized by the FDA, but they require a single swab processed in one specific test unit.
My test is expired. Can I still use it?
No. Do not use expired tests. The chemical reagents degrade over time, and results will not be reliable. Check the expiration date on the box, and note that many expiration dates have been extended by the FDA. You can verify extended dates on the FDA’s website.
What should I do if I test positive?
Follow current public health guidelines, which generally include isolating from others and notifying close contacts. Consider a telemedicine consultation to discuss your symptoms, treatment options, and the need for official documentation. Antiviral medications for both COVID-19 and influenza are most effective when started early.
Are at-home test kits covered by insurance?
Coverage varies. During the public health emergency, many insurers were required to cover the cost of at-home COVID tests. Policies have changed. Check with your insurance provider for current coverage details for both COVID and flu tests.
The empowerment offered by at home COVID and flu test kits is a significant advancement in personal healthcare. By using them correctly, interpreting results wisely, and integrating their findings with professional medical advice from platforms like Doctors Home, you can make faster, more informed decisions about your health. This hybrid model of self-testing and virtual professional support represents the future of accessible, efficient, and patient-centered care, putting crucial diagnostic tools directly in your hands while maintaining a vital connection to licensed medical expertise.
About the Author: David Reynolds


Sign up for our newsletter and Save 20% on Test Kits
"*" indicates required fields